
Skip to Section
- 1 Time-Lapse Video Stages
- 2 Time-Lapse Capture Software
- 3 Devices vs Software
- 4 Video editing Software
- 5 Frame by Frame Editing
- 6 Great Feature
- 7 Video Production Software
- 8 Editing Audio
- 9 Final Thoughts on Time-Lapse Video Software
- 10 Some disadvantages To Adobe
- 11 Is Mac or Windows time-lapse video software better?
- 12 Differing Factors
It doesn’t matter how much photography equipment you have, you will really struggle to produce a professional level video unless you’re using the best time-lapse software.
This article serves as an introduction to the most popular software available for producing stunning time-lapse videos.
From processing the initial still images, reducing flicker, through to stitching the photos together to produce the final time lapse video in just a few clicks.
Time-Lapse Video Stages
Since there are different stages to create time-lapse videos, it’s important to first identify these stages so that we can identify what software can be used for each stage.
The main stages of the time-lapse post-production process are:
- Photo Capture
- Colour Correction/Enhancement/Processing
- Video Compilation/Rendering
You may find software that covers most or all of these processes, but generally, it’s better to use software that is really good at one thing, rather than okay at all of them.
The old phrase ‘jack of all trades, master of none’ springs to mind.
Time-Lapse Capture Software
When it comes to capturing the time lapse photos needed to produce a time-lapse video, you have two options:
- Capture Devices – You can use a capture device such as a hardware intervalometer plugged directly into your camera, or you can use a software solution.
- Time-Lapse Capture Software – such as LRTimelapse or qDslrDashboard allows you to control your camera and capture the images directly from within a software program, allowing for more control than a hardware solution.
Devices vs Software
Whilst the hardware option is generally preferred for most projects due to it’s portability and simplicity, you may find that capture software allows for more control and offers extra creative features.
This can be used with a range of cameras, including a DSLR camera and mirrorless models.
VideoVelocity Time-Lapse Capture Studio
This application allows you to capture time-lapse using a Nikon or Canon DSLR camera, webcam or even IP camera. Recorded pictures can be up to 4K format and exported video can be up to 1080p format.
Some other features include an advanced deflicker filter, failure recovery and scheduling.
The software has a free version which is restricted to SD image and video output. To output HD quality video, you will need to pay for the pro version.
You can find out more about VideoVelocity and download it , go to the following URL:
https://www.candylabs.com/videovelocity
SkyStudioPro
This simple time lapse video application is quite basic, but might be all you need if you’re just looking to capture a series of still images to make a time-lapse video.
Whilst it is only currently available for Windows, this is the best free timelapse software.
Download it from the SkyStudioPro website here.
Video editing Software
Once you have captured a series of still images (photos), you don’t just want to stitch them together into a video without first doing a bit of post-production to enhance the colours and make the image ‘pop’.
“It still amazes me to see just how much difference a few simple tweaks can make to the quality of a photo”
Frame by Frame Editing
Photo editing tools make such a difference, it’s amazing what a few simple tweaks can make to the quality of a photo. Repeat that to every frame of a time-lapse video sequence and you’ve got a really professional looking production.
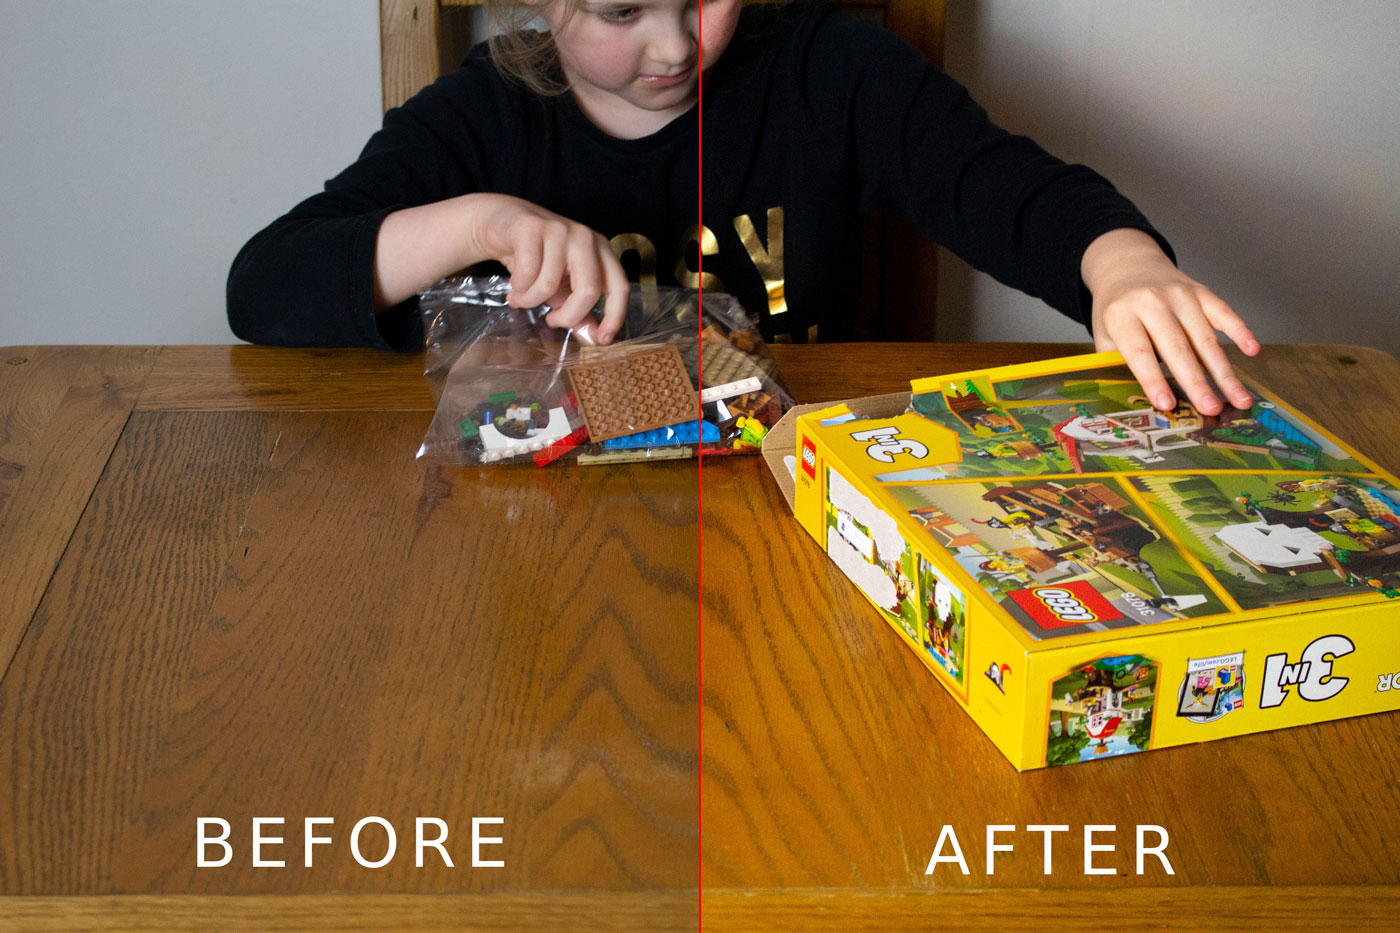
The photo above is from a time-lapse sequence I shot earlier this year. Post-production was done using Adobe Lightroom.
Adobe Lightroom
This is probably the most popular post-processing time lapse video software on the market. Most photographers use Lightroom as part of their post-production workflow, Lightroom isn’t just for time-lapse photographers.
Lightroom basically ticks all the boxes for most photographers when it comes to optimizing photos in bulk.
You can easily import all the pictures, adjust pretty much everything including exposure, contrast, colour balance and so much more before exporting images based on your specific needs.
Great Feature
A great feature of Lightroom is that it performs all of your changes non-destructively.
For example it saves all of your changes separate to the image file itself. So you never have to worry about being able to reverse your changes.
Adobe Lightroom is available as part of the Adobe Creative Cloud suite, which you can subscribe to and pay monthly.
A lot of people are critical of the subscription model as you never truly own the software, but it does make the product more accessible for people who can’t afford a large upfront cost.
If you’d like to delve further, our Lightroom Time-lapse guide covers pretty much all you need to know on this software.
Video Production Software
The final step of producing time-lapse videos is to stitch all the images together into a single video and export that to a video file format of your choice such as AVI video files, MP4 or MOV.
You may want to add on a soundtrack at this point, but generally, you’d add any sound or music when incorporating your time-lapse video into a larger video editing project along with other video clips.
Editing Audio
The main audio editing programs used by the majority of video editors are Adobe Audition and Apple Logic Pro X. They both provide a range of tools to edit, mix and master audio for your videos.
It’s worth noting that you need to be pretty adept at using these programs in order to get the best results from them. They can be used to add sound effects, background music and even record your own voice overs.
If you’re not confident using these tools then there are always other options such as stock audio libraries or royalty free music libraries which will provide a quick and easy way of adding audio to your videos.
Final Thoughts on Time-Lapse Video Software
LR Timelapse
Unlike most other video production software, LR Timelapse, as the name would suggest, has been developed especially for time-lapse production.
It is considered by many as the best time-lapse video software available.
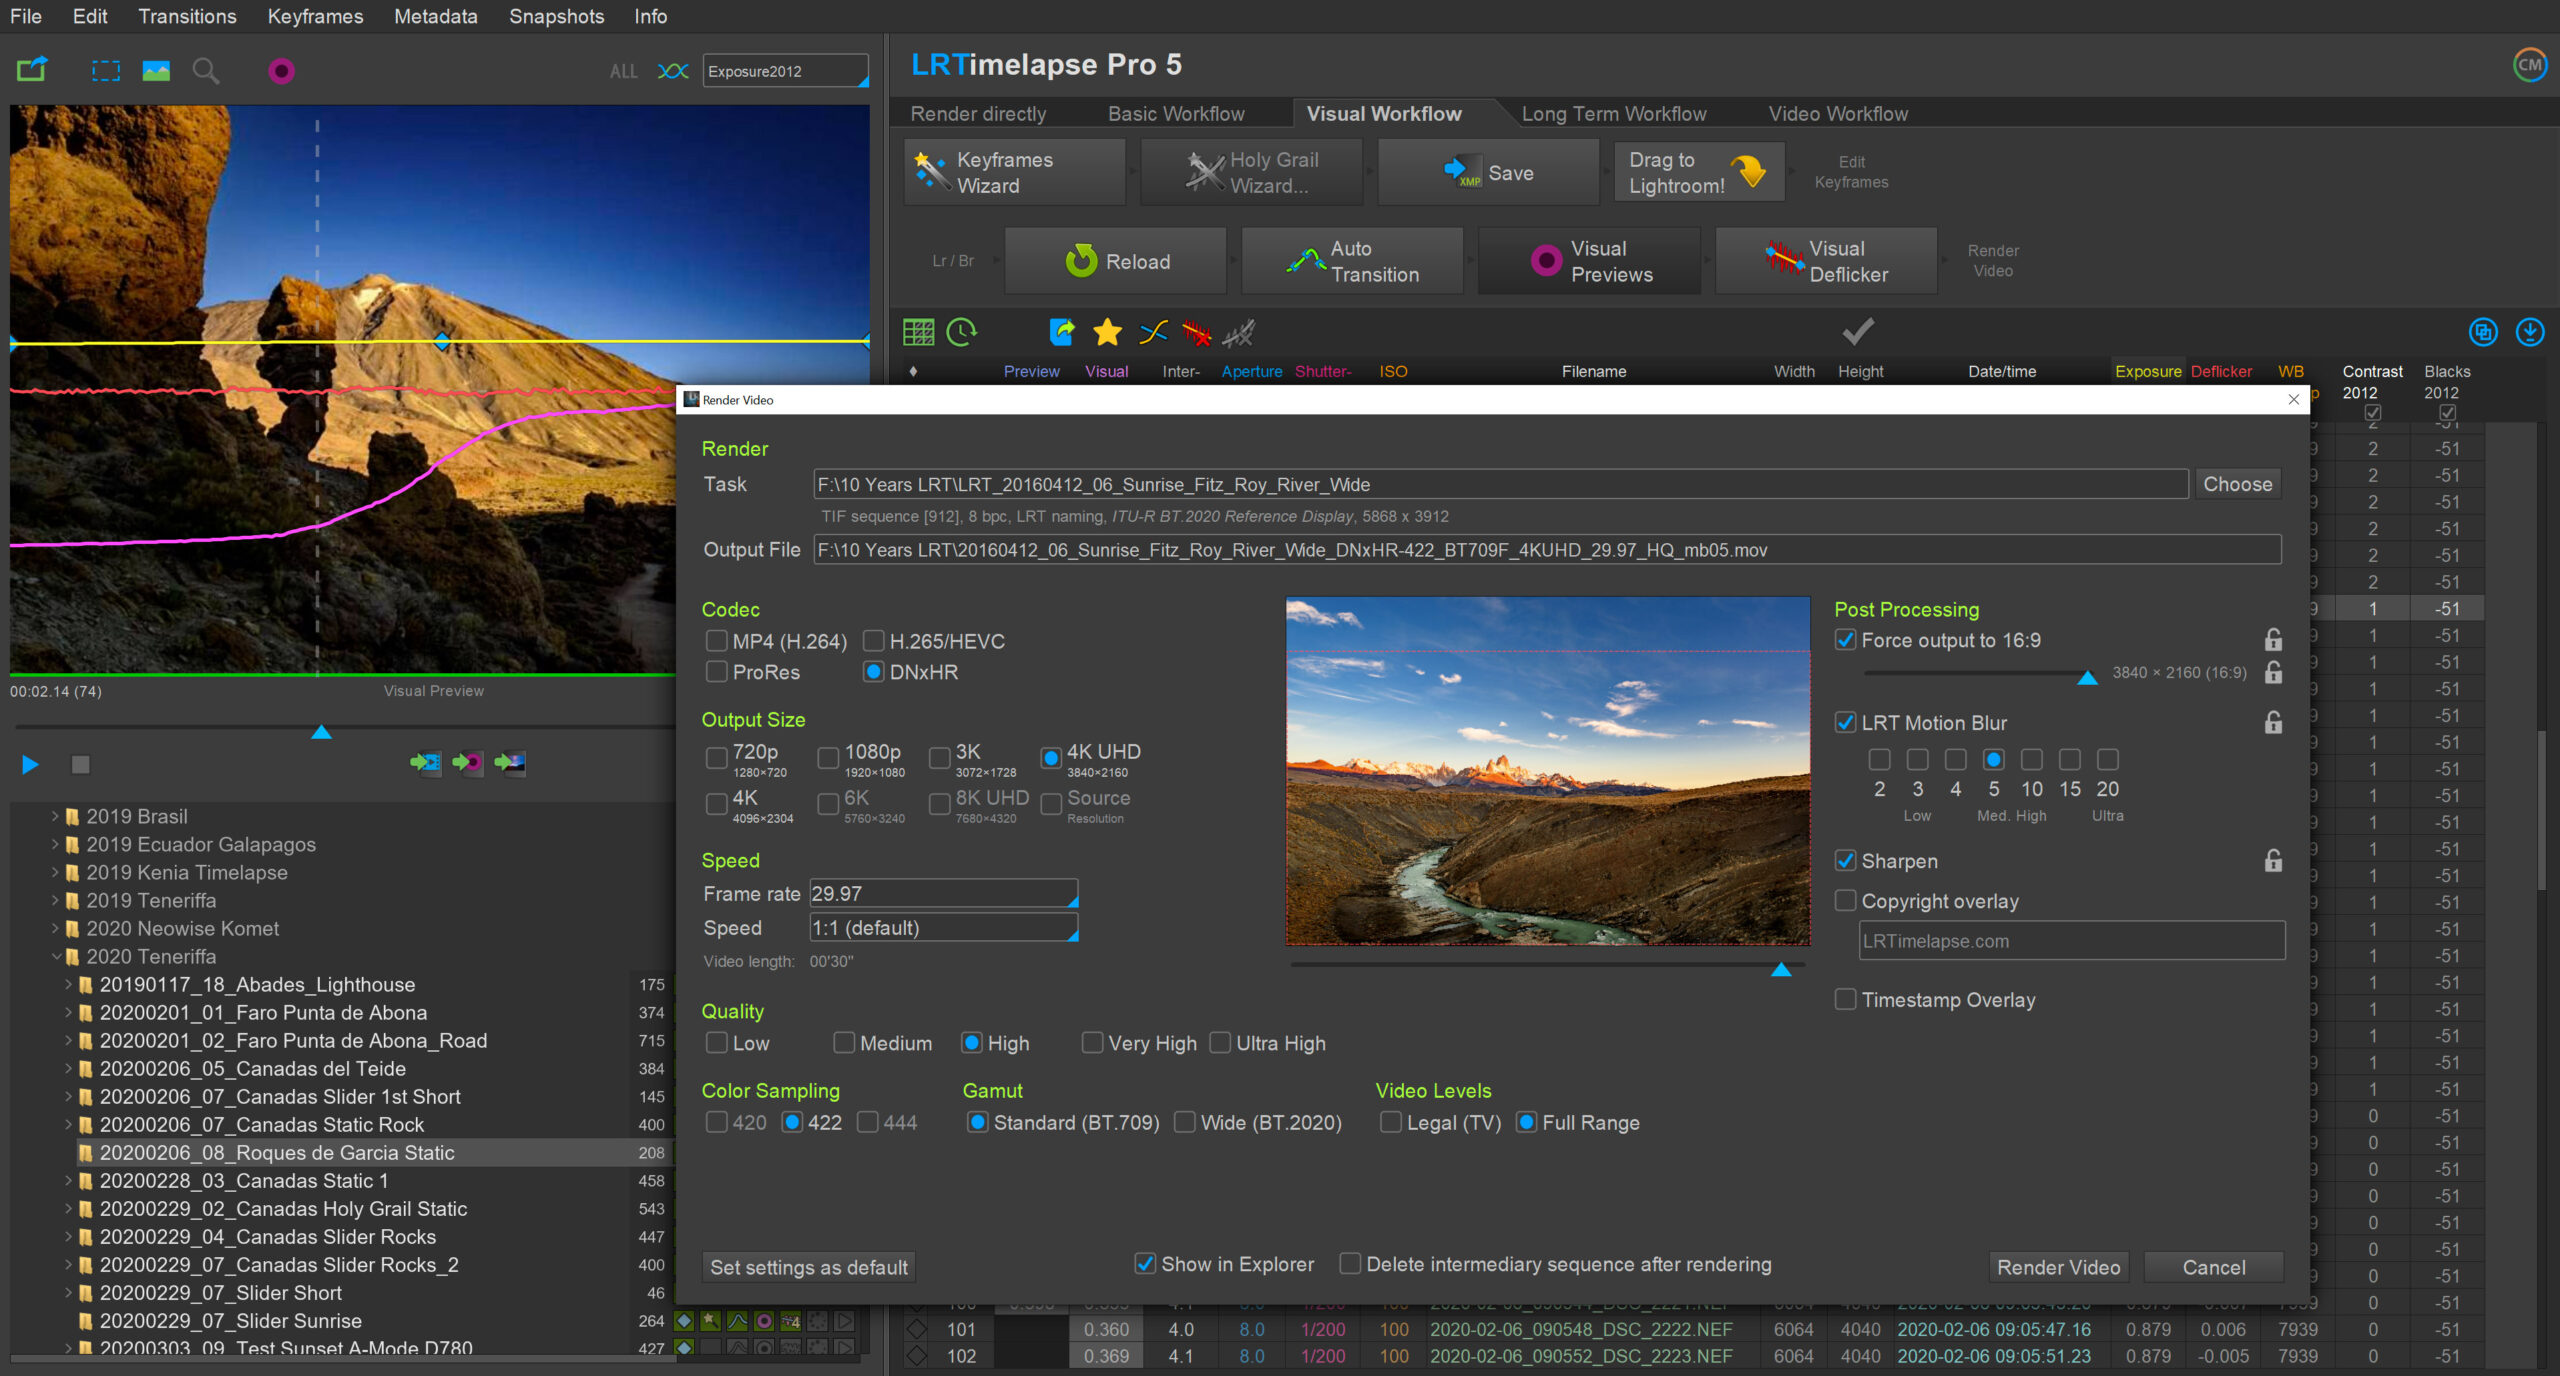
Available for both Windows and MacOS, LR Timelapse boasts loads of timelapse-specific features including:
- RAW image support
- Integrates with Adobe Lightroom
- Keyframe and animate more than 400 Lightroom tools
- Holy Grail wizard for perfect day-to-night transitions
- lossless Multi-Pass-Visual Deflicker
- LRT Motion blur technology
Honestly, if you are not using LR Timelapse to produce your time-lapse videos, then you are missing out on some amazing features that I have not seen in another software package.
For a more in-depth introduction to LR Timelapse, check out our LR Timelapse review. or visit the official LR Timelapse website.
Panolapse
Panolapse is another piece of dedicated time-lapse production software, developed by Patrick Shyu. Like LRTimelapse, Panolapse supports Windows and MacOS and has a lot of time-lapse-centric features including:
- Panning/zooming with perspective correction
- Blending frames with RAWblend (Exposure, contract, white balance and more)
- Deflicker
- Autoexposure
- Export to MP4
Whilst it boasts similar features to LRTimelapse, it does not seem to integrate with Lightroom, but might be worth checking out nonetheless.
The free version of Panolapse allows you to export up to 1280×720 HD videos. With the premium version, the output video resolution is unlimited.
To try Panolapse for yourself, check out the official Panolapse website.
Adobe Premiere Pro
Most of Adobe’s creative applications are leaders in their respective markets and Adobe Premiere Pro is no exception.
Used by top media/video production companies and amateurs alike, Premiere Pro is popular for a reason.
With a neat, intuitive user interface and rock solid performance. If you are looking for video editing and to produce show reels then you can’t go wrong with Adobe Premiere Pro.
“With a neat, intuitive user interface and rock solid performance, if you are looking to edit videos and produce showreels then you can’t go wrong with Premiere Pro”
Some disadvantages To Adobe
Having said that, Adobe Premiere Pro doesn’t offer much in the way of stitching images together to create time lapse videos.
Whilst it is the first choice for many time-lapse videographers, I feel this may be due to most people already having it installed and being loyal to the Adobe brand.
Maybe I just haven’t discovered the right tools and options, but after producing a few time-lapse videos in Premiere Pro, I cannot find a precise and reliable way to set set the right frame rate.
If you are more adept than myself with Adobe Premiere Pro, or if you have more time to learn at video editing and time-lapse sequences in the software, then I would most certainly suggest giving it a go.
Vegas Pro
Vegas is another popular piece of professional video editing software. If you are serious about your time-lapse production and don’t want to use Adobe Premiere pro for any reason, then Vegas pro should be next on your list to try.
Like a lot of software these days, Vegas pro is available on a monthly subscription, or you can buy a license outright if you prefer.
Beyond the usual video editing features, Vegas pro offers an impressive range of features and filters to take your time-lapse video production to the next level including:
- Denoise filter
- Flicker control filter
- Advanced color grading
- Special effects plugins
- AI-based colorization
For a full list of features and to see what Vegas Pro can do, check out the official website.
Is Mac or Windows time-lapse video software better?
This question has been asked a million times, not just in the photography software world, but all kinds of industries.
A lot of people would argue that Apple Mac computers are better for media production in general, however a Windows PC with a similar spec is probably going to perform just as well.
All the time lapse tools that we reviewed are available for both MacOS and Windows, so there’s not much difference with regards to support. The best advice would be to stick to the operating system you are most comfortable with.
Differing Factors
One factor that will make a big difference however is hardware. Whether you choose Mac or PC, make sure you have a decent processor, plenty of RAM and a high-end graphics card.
Whilst a midrange computer should work just fine, you may find that rendering high resolution videos takes a long time unless your system is up to the task.
Complex Time lapse videos are demanding on system resources, so the more powerful your setup is, the better.
To Summarise:
The best time-lapse software for your project depends on the specific needs of your project. The only way to find out is to identify what tasks you want to achieve, and chose software to achieve those tasks.
Pingback: How to produce smooth timelapse videos. - Pro-Lapse
Pingback: Lightroom Time-Lapse Video Production - Pro-Lapse
Pingback: The Ultimate Construction Time Lapse Camera Guide - Pro-Lapse
Pingback: Can I turn a video into a time-lapse? - Pro-Lapse
Pingback: LRtimelapse Review - Pro-Lapse