Skip to Section
There are quite a few time-lapse controllers on the market. From the basic unbranded basic intervalometers you can pick up on eBay, through to the complicated, specialist high-tech units that link up to your favourite motion controller.
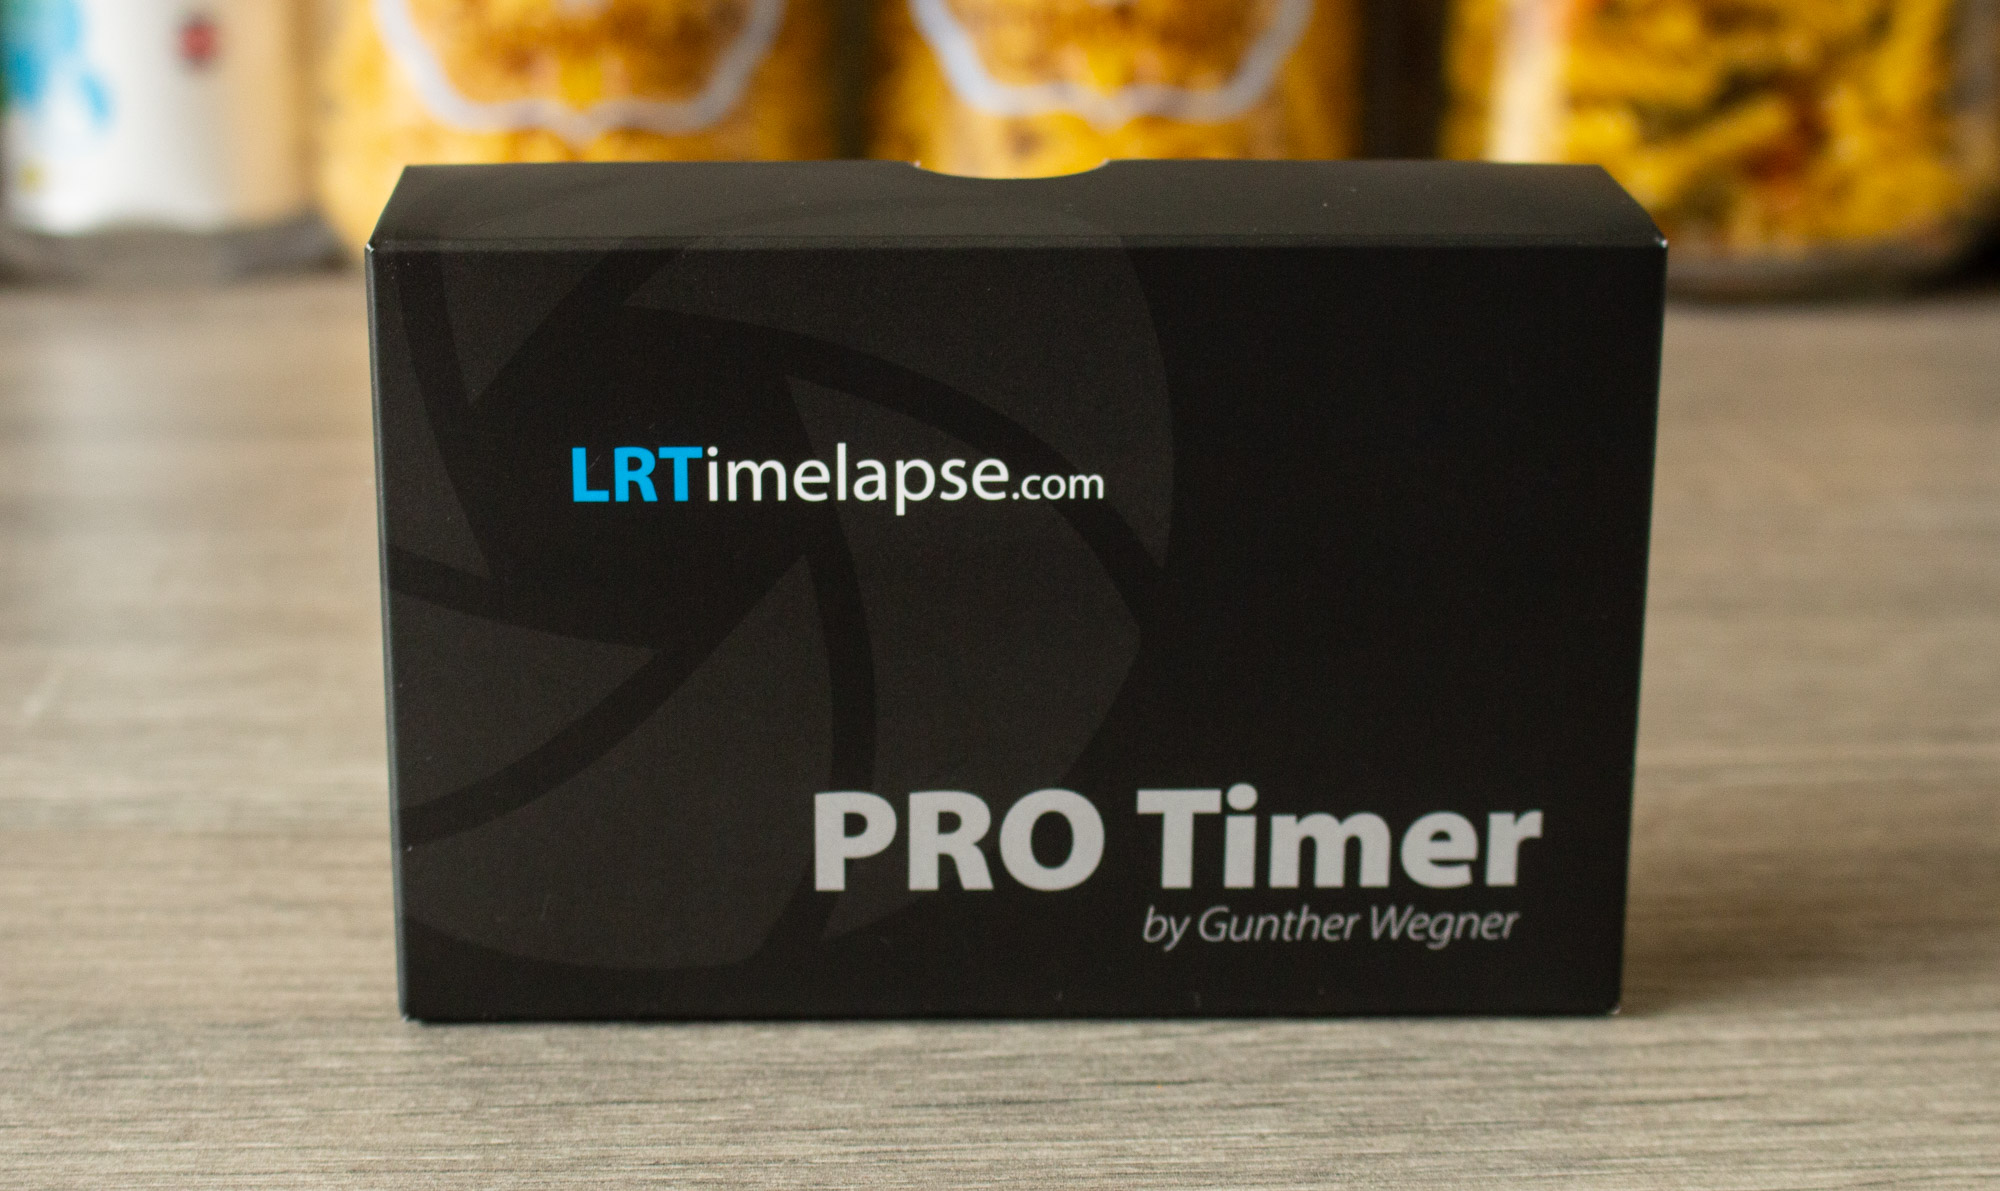
The Pro Timer 3 from the maker of LRTimelapse, Gunther Wegner, sits somewhere in the middle. Packed into a small form factor that slides nicely into your camera’s flash mount, this nifty little unit packs plenty of features whilst maintaining an intuitive interface. We tested the product over a couple of weeks, here are the results.
Someone who is new to time-lapse (or photography in general) may see the PT3 as expensive, especially considering their entry-level timer may have cost a fraction of the price. To those people I would say that the PT3 is a specialist piece of technology aimed at professional time-lapse photographers and amateurs that are serious about their craft, and it is priced as such.
First Impressions
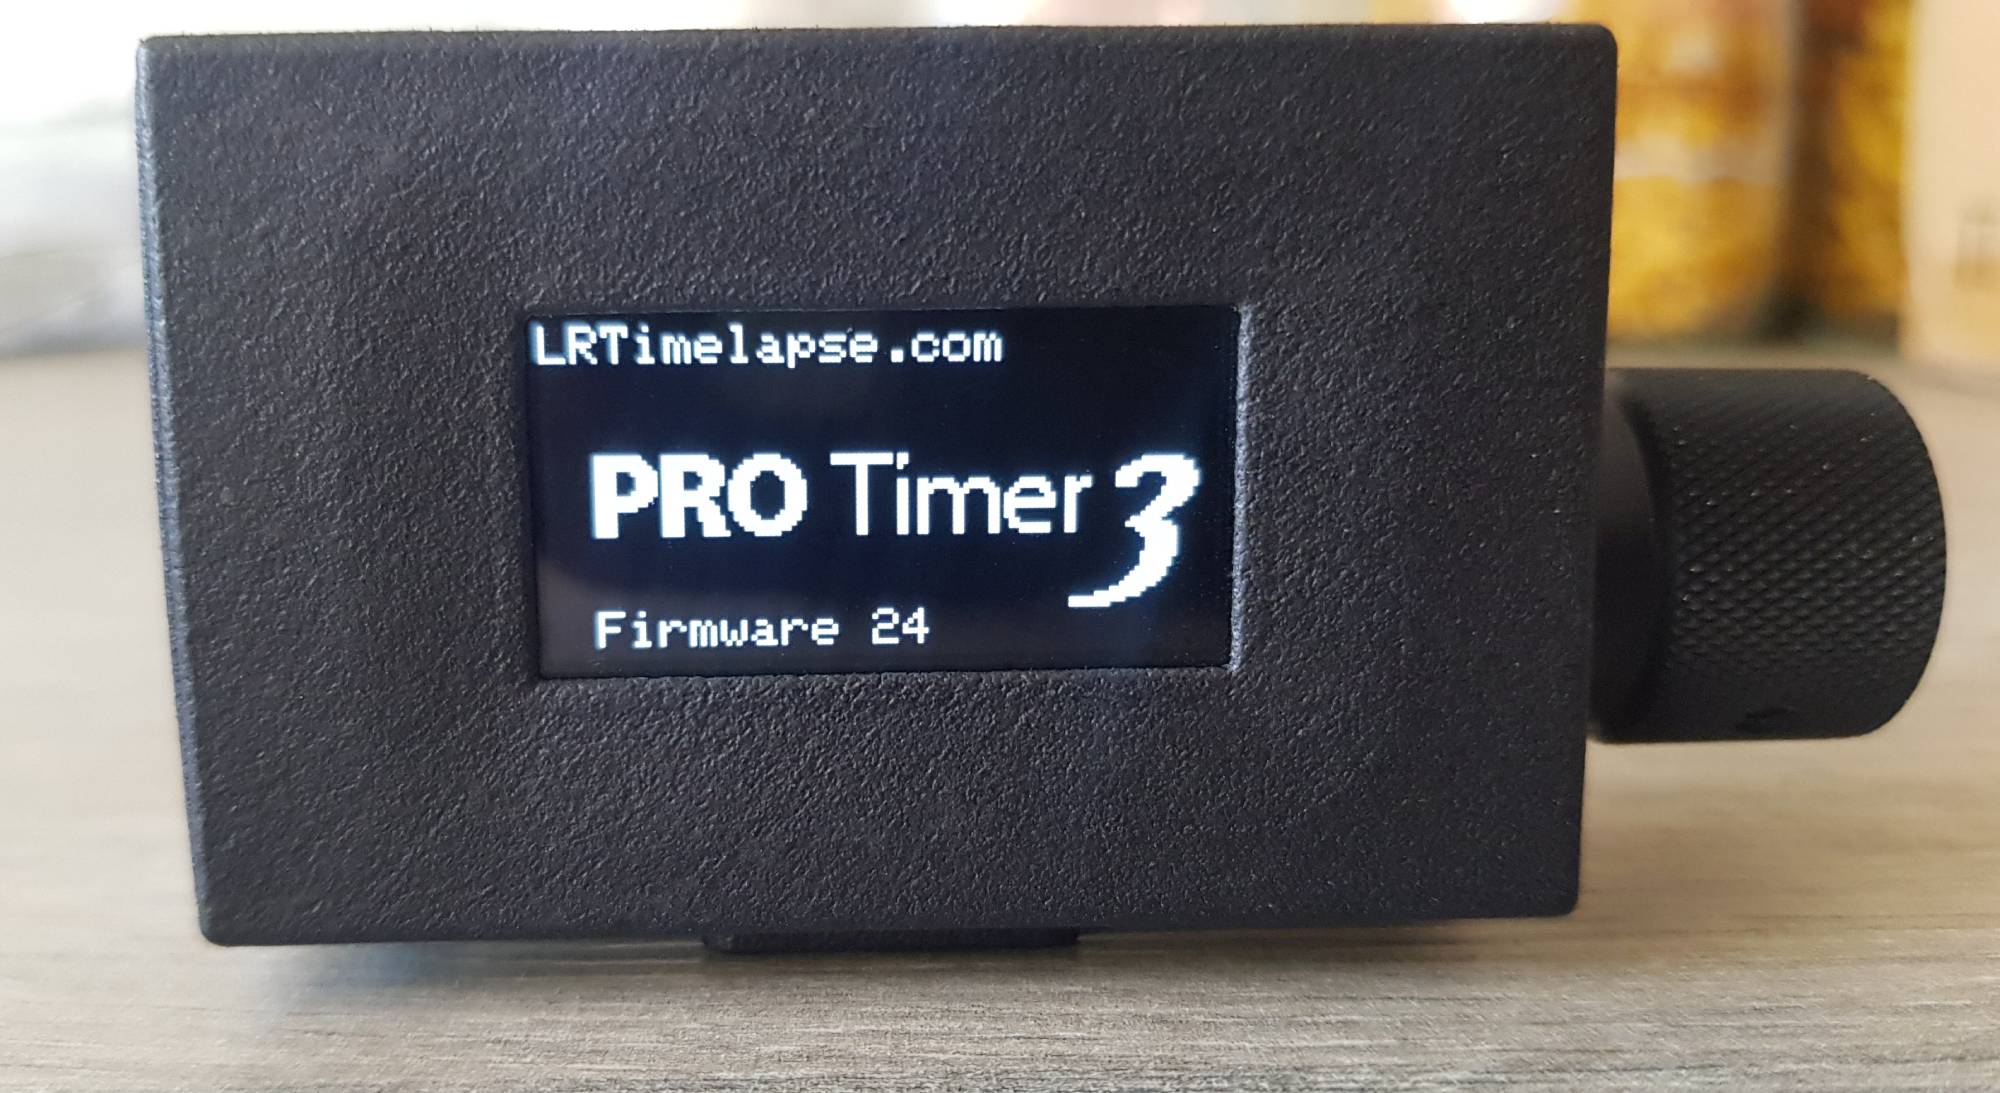
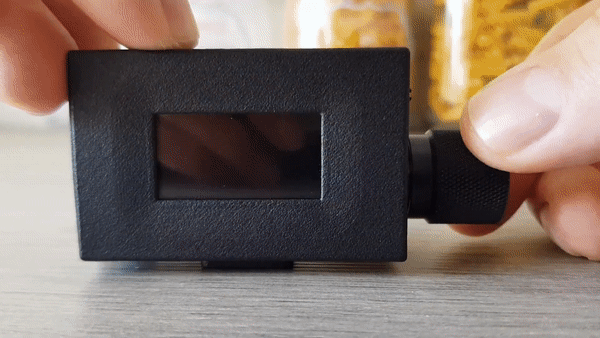
The first thing that struck me when I opened the box was just how small the timer was. At just over 3 inches (84mm) on its longest edge, this device really is quite compact. You’d be forgiven for thinking that its small size and weight means there is not much to it, but you would be wrong. Despite the product’s small size, it is packed full of features, as I went on to find out.
The texture of the plastic that the case is made from seemed slightly unusual at first. It has a rough matt textured surface which gave it an almost prototype-like feel. I have seen similar results from high-end 3d printers before. This is not a criticism however, the case seems sturdy and fit for purpose.
After reading the online documentation, I turned the Pro Timer 3 on and started to play around with it. I was impressed with how intuitive the user interface was, despite only having a single clickable knob.
As well as having all of the features I want, the information shown on the display during a time-lapse shoot is exactly the information I need.
At this point, I really got a sense that this was a gadget I would find useful and would likely have a permanent place in my everyday time-lapse kit.
One thing to be aware of when buying this timer is that you need to buy a separate shutter release cable. By default, the timer comes on its own in the box with no accessories of any kind. When buying this timer online, retailers may offer to upsell you a cable, however it’s up to you to make sure you get the right one for your camera.
I didn’t realise this at first and the cable I had in my kit bag was too short, so I had to order another and wait for it to arrive.
A paper manual would also be a welcome addition. Whilst a simple leaflet would add almost nothing to the overall cost of the product, it would allow you to quickly look up specific features and settings on the go, without needing a computer or phone with an internet connection. I know I could download and print the manual, but this really shouldn’t be necessary for a premium product at this price point.
According to the manufacturer, since the software on the timer is regularly updated, printed instructions would quickly become outdated. Downloadable digital instructions can regularly be updated, so they encourage you to download the latest manual from their website.
Features
The Pro-Timer 3 has more than enough features to meet the needs of most time-lapse amateurs and even professionals. Whilst 99% of my time-lapse shoots use the standard interval mode, I could definitely see myself making use of the interval ramping feature and the scheduling feature at some point in the future. These features just open up new creative possibilities that would be difficult to achieve otherwise.
When navigating through the software features of the device, I had more than a few “oh, nice” moments when discovering things that it could do, or settings that could be configured.
Pretty much all of the features felt like they would be useful at some point, I didn’t get the feeling any had been added for the sake of it. You can tell this unit was designed by a true time-lapse photographer who understands what the end-user will need, as opposed to someone hired to design electronic devices.
Below are some of the more notable features, beyond what you may expect to find on a typical intervalometer.
Fast Shutter Release
One interesting difference between the Pro Timer and many other intervalometers is the way it handles (or rather, doesn’t handle) the autofocus signal. Unlike most other timers, this one doesn’t send an autofocus signal at all, freeing up valuable ‘dark’ time between shots.
Interval Ramping
Whilst this isn’t a feature I often use, the ability to ramp your interval over time opens up a world of creative possibilities.
The most obvious being the elusive holy grail time-lapse. For those new to the subject, the holy grail time-lapse technique is shooting day-to-night (or vice-versa) transitions. It’s called holy grail as historically keeping good exposures over such a dramatic change in scene brightness has been incredibly difficult (however modern technology has taken much of the difficulty out of getting this right).
Dual Trigger Output Ports
If you ever want to connect the timer to a second camera or send a signal to your motion controller, the Pro Timer 3 features a second output port. Whilst I haven’t yet needed to use this, it’s great to know that option is there when I decide to set up a motion controller at some point.
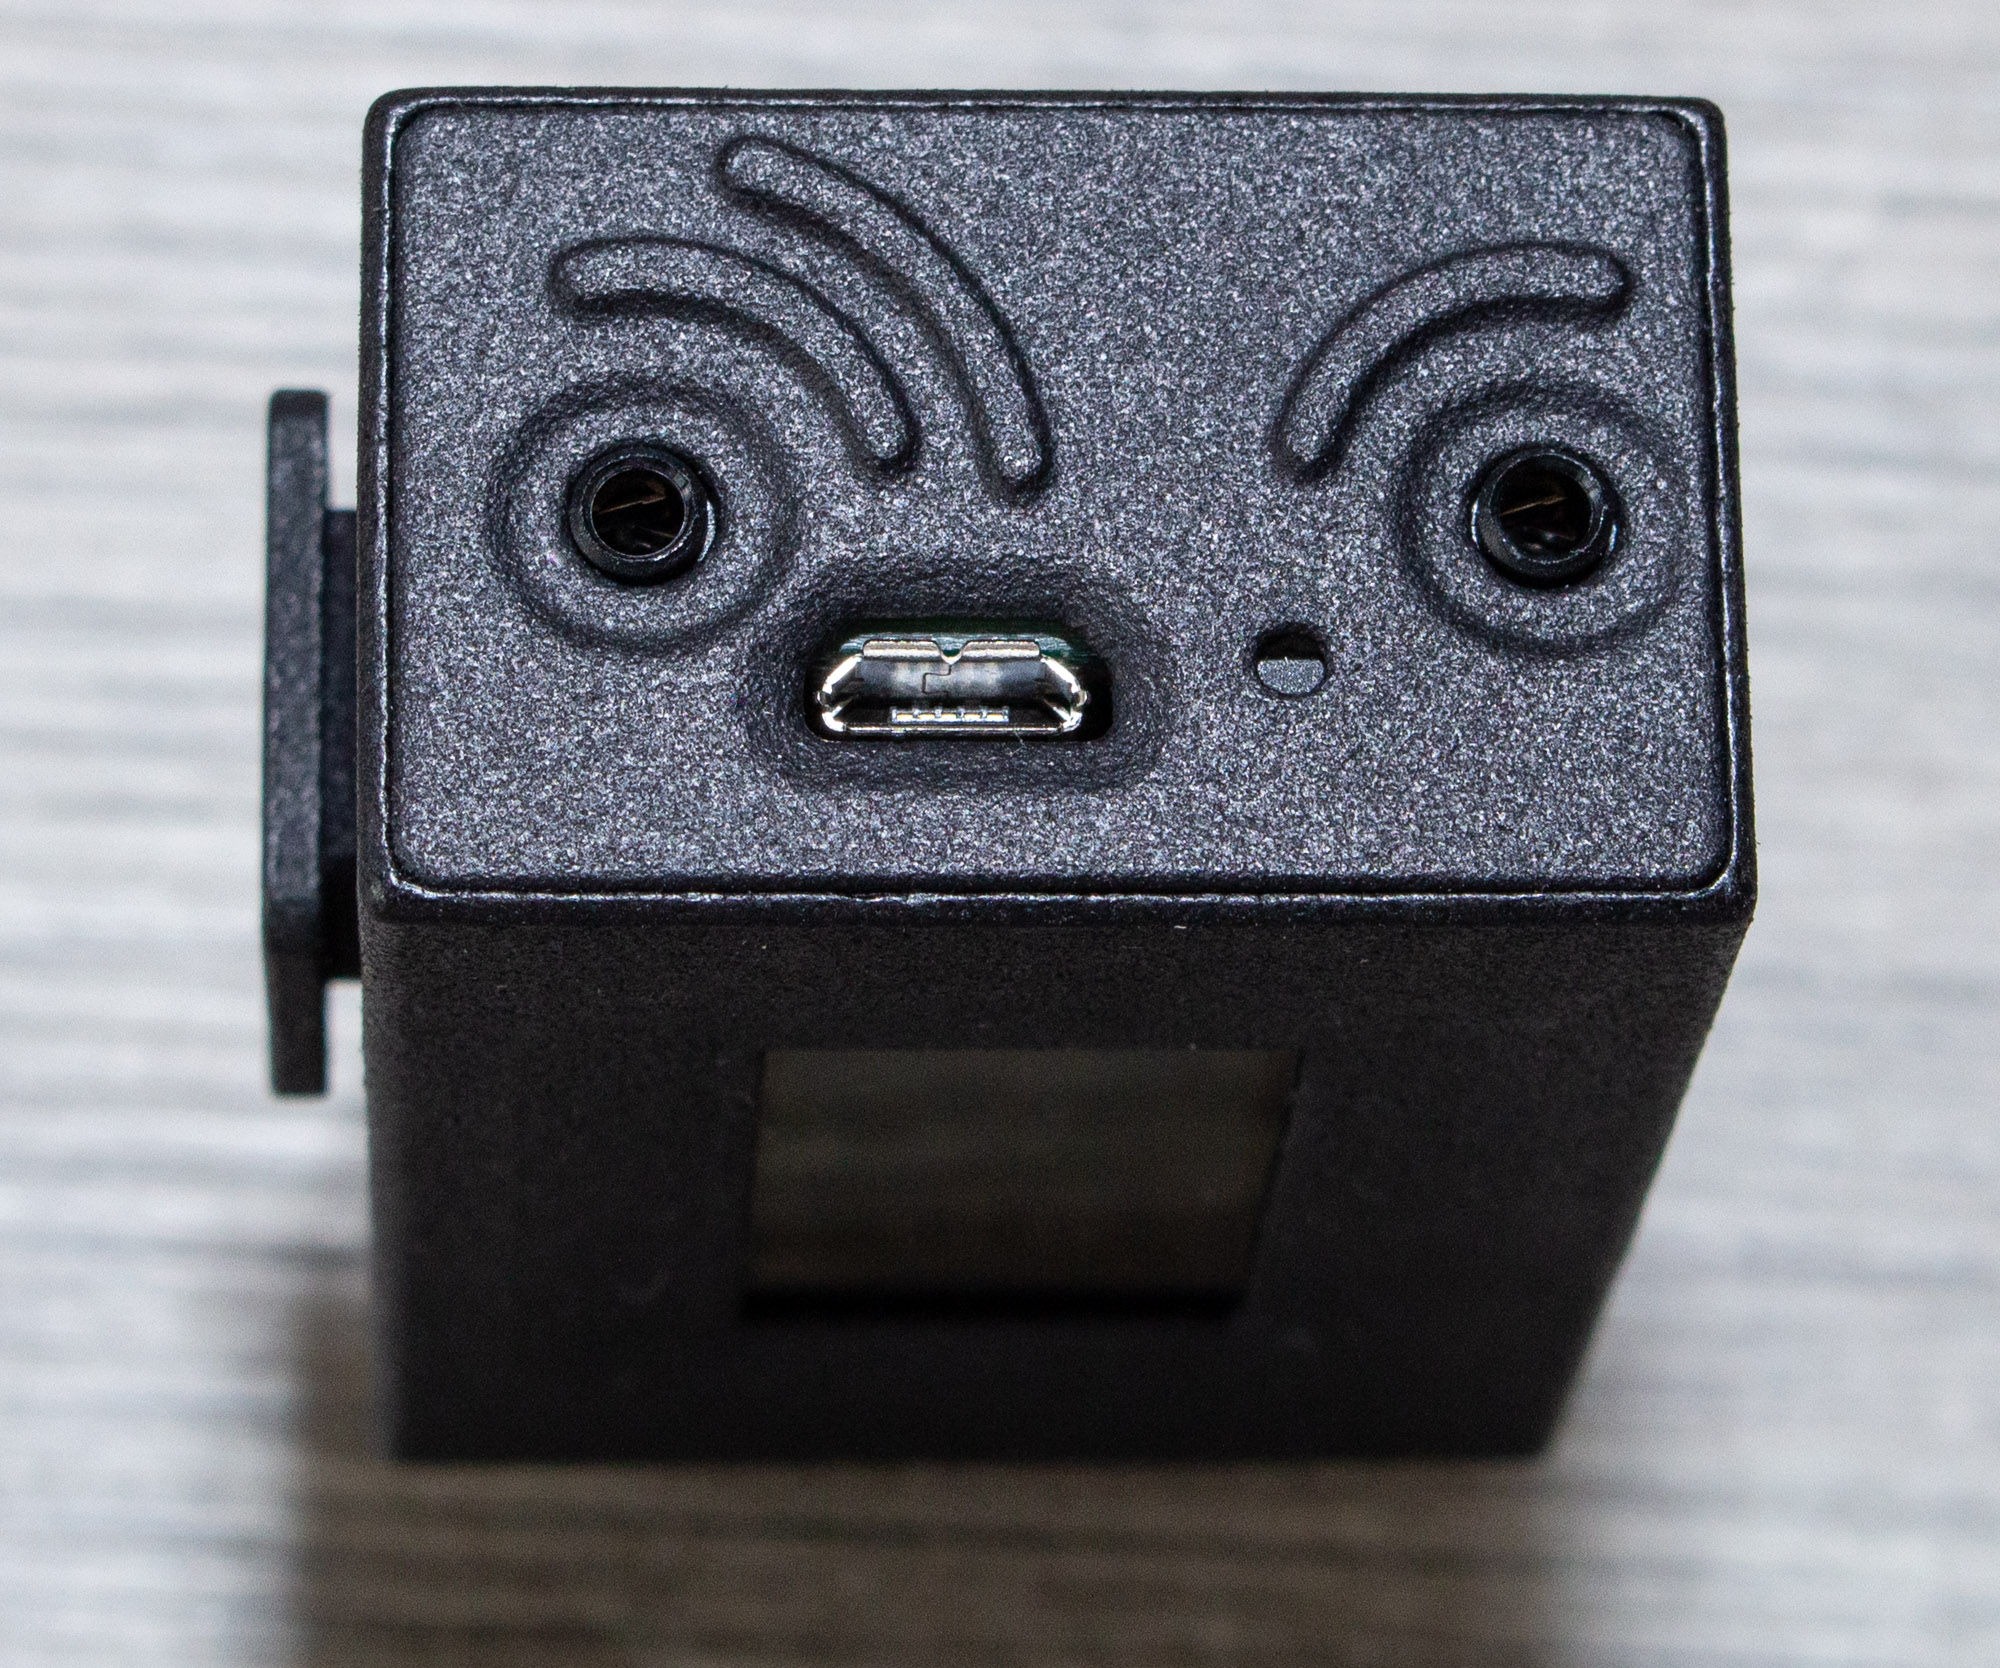
The raised “I” and “II” around the ports help you to identify the ports by touch alone in complete darkness, which is a nice touch.
OLED Display
The sharp, bright OLED display is a great feature as it allows a wider range of visual display elements to be displayed. Unlike LCD displays that have fixed characters or symbols, OLED screens have a large number of individual pixels. This means that the manufacturer can be more creative with their user interface and display almost anything on it including text, numbers, symbols, borders, shapes, you name it!
For nighttime shooting, this display is great. Unlike LCDs which generally have to use an LED to backlight them, the OLED is bright and clear in any ambient lighting condition.
Scene Flashlight
A simple, yet useful feature. You can illuminate the OLED screen in order to illuminate your scene. Whilst this would be nowhere near enough light to be useful in other circumstances, during long-exposure night sky shoots, this is apparently plenty enough light to illuminate the foreground.
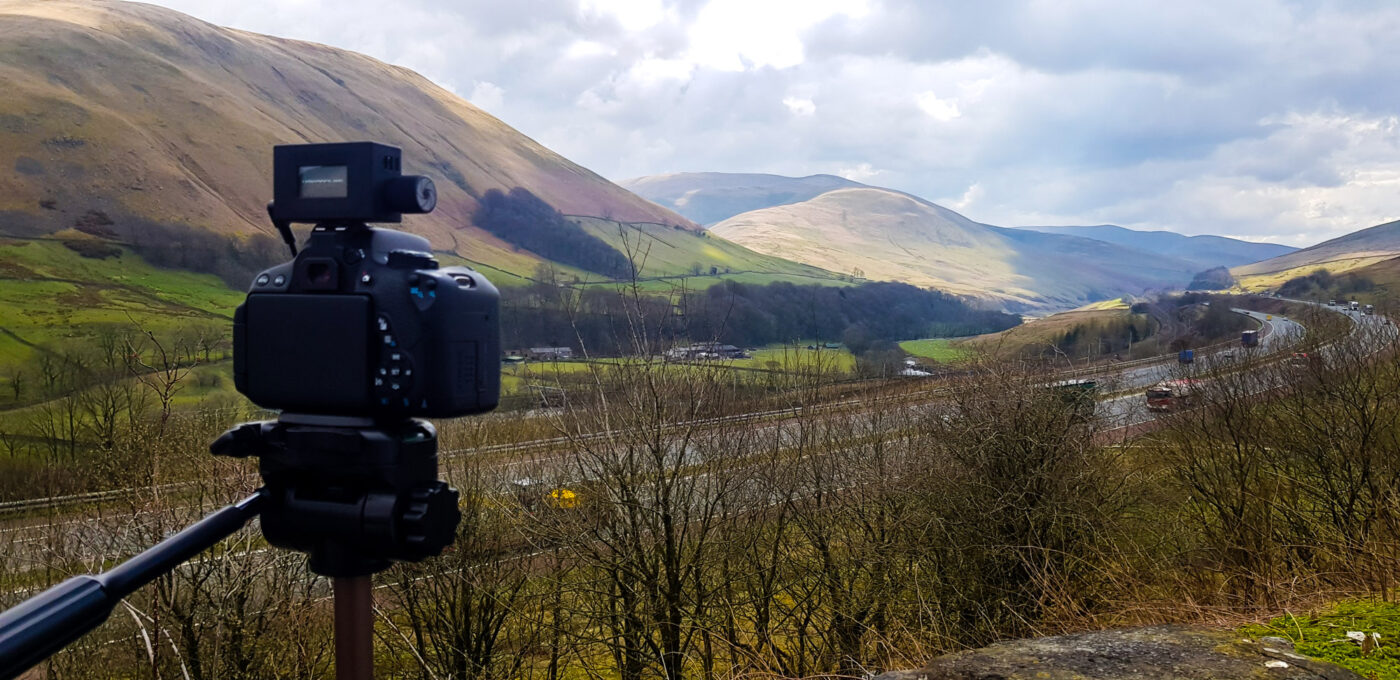
Hot Shoe Mounts
The ability to set the timer on top of your DSLR camera’s hot shoe (flash) mount is simple, yet a great feature that means you don’t have to hang it down from a cable.
The Pro Timer has two hot-shoe mounts, so as well as the standard setup of the screen facing backwards, you can also attach it with the display facing upward, perfect for when your camera is set low on the ground.
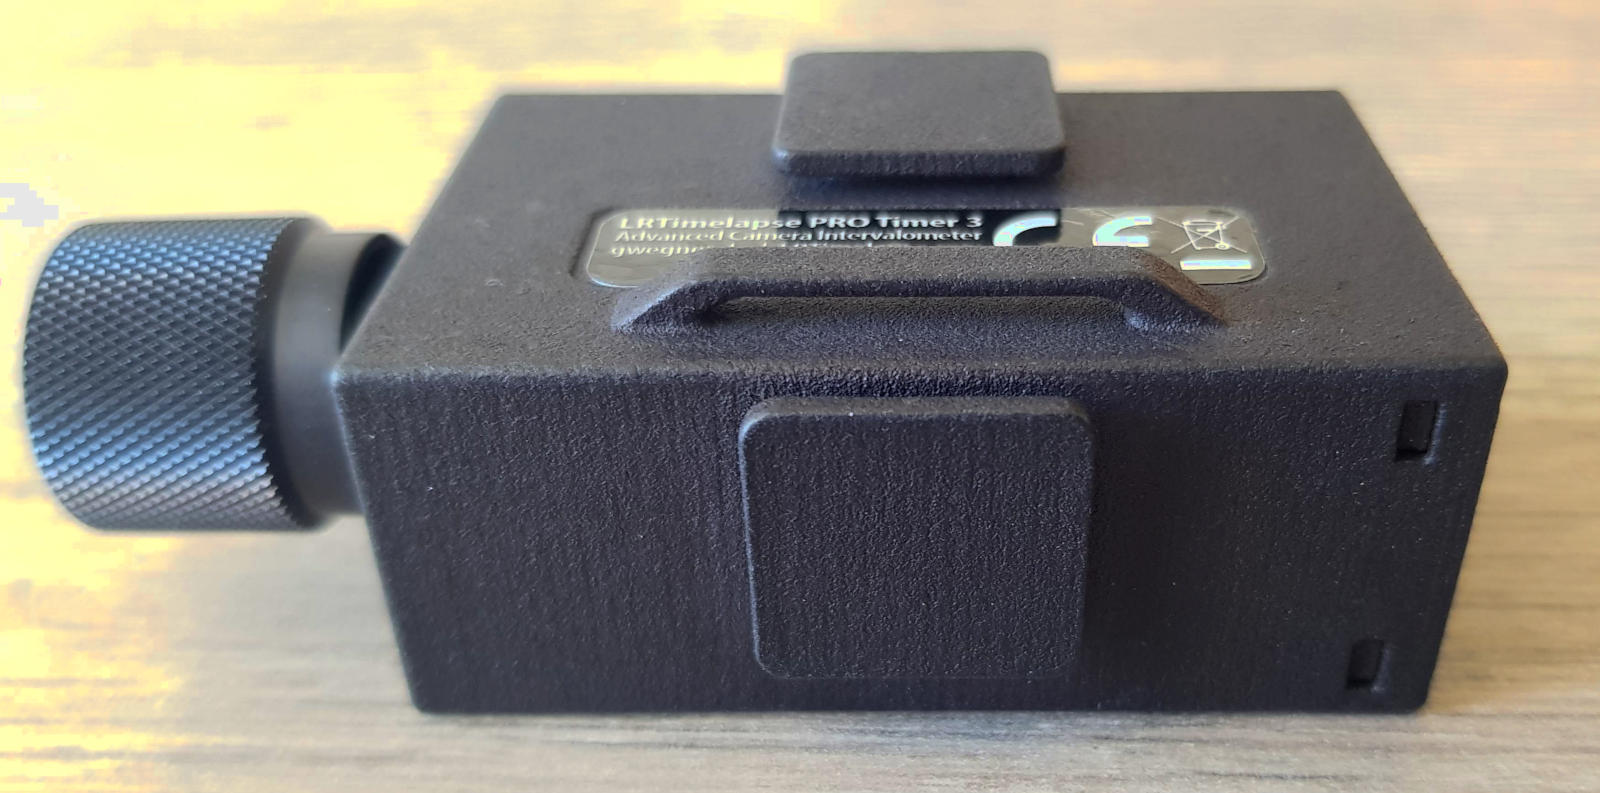
You’ll also notice the clip on the back there for securing a lanyard. Another nice little attention to detail.
Build Quality
Whilst I don’t feel like I have put this device through its paces physically, I can comment on the build quality for general use. I haven’t subjected it to extreme weather, moisture or any drops/crushes, which I would have to do to be able to comment on how it stands up to tough environments.
Having used the Pro-Timer 3 for a few weeks, shoving it into my camera bag and various pockets, leaving it out for a few hours at a time, I have experienced no problems with it at all.
The build quality on inspection looks more than adequate for standing up to average time-lapse photography usage. Like with any high-tech electronic equipment, look after it and it should serve you for years to come.
User Interface
One thing that is guaranteed to annoy me with technology is poor user interface design. Quite often, product developers fail to put the necessary thought and planning into designing an intuitive, simple user interface. This is often the result of a lack of expertise in that area.
Whilst a product team may have all of the technical skills to develop working hardware to spec, user interface design is a totally different discipline. Making a powerful tool with a lot of features, whilst also maintaining a simple interface is no easy feat. This is as true for software as it is for hardware.
Fortunately, the product developer has managed to develop a really simple, intuitive user interface for the Pro Timer 3. He clearly has a lot of experience with interface design, having worked as a software engineer and having developed the LRTimelapse software over 10 years according to his fascinating documentary of the LRTimelapse story.
Hardware Interface
Aside from the on-off switch, the only control on the device is a rotary knob, which has a satisfying ‘notched’ feel as it turns, helping you to cleanly select items in the user interface. The knob also clicks in to select an item, or you can hold it down for a second or so to go back. Really intuitive.
The ability to use the product with just a single knob is no accident – it allows you to use the timer with gloves on, in almost any weather condition. Although I wouldn’t use this product in the rain as, to the best of my knowledge, it is not rainproof.
Initially, when using the knob, I was a little frustrated that the knob seemed to be reversed compared to my expectation. Turning clockwise scrolled up the menu and anti-clockwise scrolled down. Satisfyingly, it turns out that the rotation direction can be set in the settings, brilliant!
Software Interface
The menu structure follows a fairly standard hierarchical structure. First, you choose the mode by turning the knob, then you click into it and proceed to progress through each of the settings for that mode by turning and clicking.
This is about as simple and straightforward as it could be. You can go back a step by holding the knob, right back to the main menu. This simple mechanism of forward/backwards covers all of the main functionality of the Pro Timer 3, meaning as soon as you work this out, you can pretty much use every feature on the device.
Battery Life
I left the intervalometer running for 3-4 hours at a time each night and it didn’t need charging for a couple of days.
The battery definitely exceeded my expectations, each time I checked the battery indicator I half expected it to be empty but it just seemed to keep going.
For longer shoots, I use a USB power bank to power my camera, so I could have plugged the Pro-Timer into that however I didn’t need to as the timer’s battery lasted much longer than was needed for any photoshoot.
Documentation
As previously mentioned, there was no physical documentation included in the box, but documentation is available online.
The online documentation covers all of the features and settings of the device, which proved to be sufficient for me. The inclusion of a PDF diagram depicting the full navigation menu system was a great idea and worth printing out.
I did feel like something was lacking however, some secondary information would be useful such as information about the battery, options for connecting the device to your camera(s), tips on using the backlight, resolving common problems etc.
I had a problem where my camera hadn’t finished processing the photo when the next photo was triggered, causing every-other photo to get missed. Whilst this wasn’t a problem with the timer itself (and was an easy fix), being able to identify these potential issues prior to going out into the field could have saved my some frustrations!
In Summary
All things considered, I really like the Pro-Timer 3. It’s well designed, easy to use and has all of the features I want from an intervalometer.
Whilst the price is quite high compared to some other intervalometers, the simple software menu system and unique hardware interface puts the device on another level compared to the competition and justifies the extra cost.
If you are looking to buy a new intervalometer and the Pro-Timer 3 is within your budget range, then this device would be a great purchase.
Pros
- Excellent user interface
- Lots of features
- Great battery life
- Small and light
Cons
- Quite expensive for a timer
- Lack of bundled cable/physical manual
To find out more about the LRTimelapse Pro-Timer check out the official website here.
No Comments yet!