Skip to Section
- 1 Time Lapse Photography
- 2 Finding a Stable Position
- 3 Use an Intervalometer App
- 4 Adjust Exposure and Focus
- 5 Consider the Composition
- 6 Be Patient
- 7 Experiment with Different Speeds
- 8 Music
- 9 Optimize Battery Life
- 10 Choose the Right Time of Day
- 11 Edit Carefully
- 12 iPhone Time Lapse Settings
- 13 Time Lapse Settings and Tips for Different Scenarios
- 14 Long Time Lapse Videos
- 15 Final Thoughts
Introduction
Welcome to this months article where we share some great iPhone time lapse tips.
Having a high-quality camera at our disposal 24/7 has significantly changed the way we capture and share moments in our lives.
With just a tap, we can now record videos, take photos, and create stunning time-lapse sequences right on our iPhones.
Time Lapse Photography
Time-lapse photography is a technique that involves capturing images at specific intervals over an extended period of time and then combining them into a video.
This results in a fast-forwarded sequence of events, condensing hours or even days into mere minutes called a time lapse video.
Time-lapse sequences can add an extra layer of creativity and visual interest to your videos, making them more engaging and captivating for viewers.
Tips for Capturing Time Lapse Sequences on Your iPhone
- Find a Stable Position
- Use an Intervalometer App
- Adjust Exposure and Focus
- Consider the Composition
- Be Patient
- Experiment with Different Speeds
- Add Music
- Optimize Battery Life
- Choose the Right Time of Day
- Edit Carefully
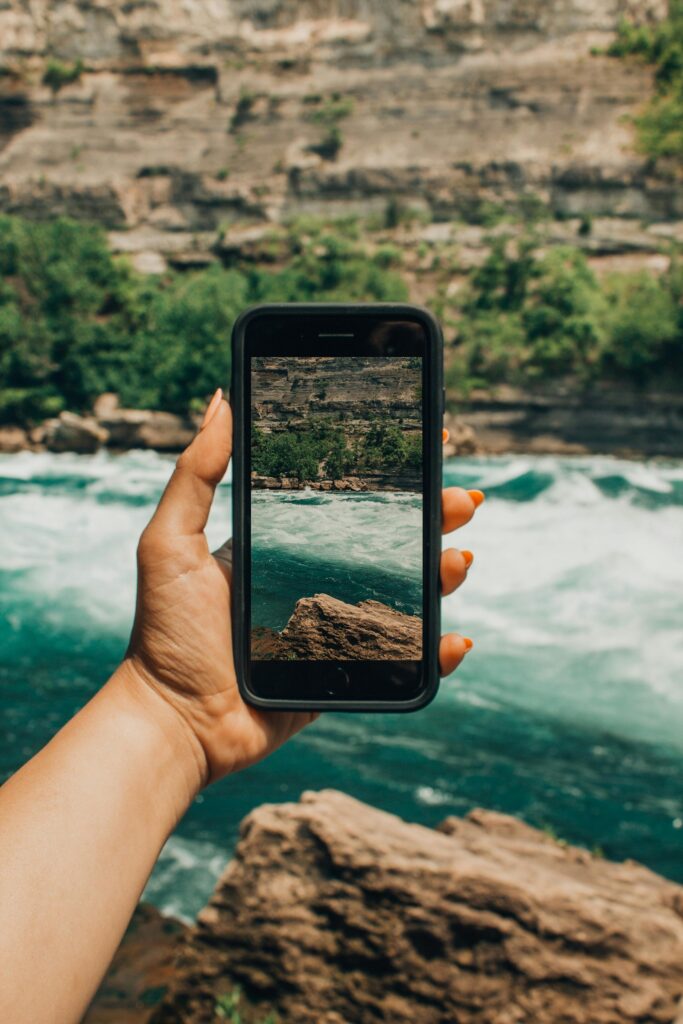
Finding a Stable Position
- The first step in creating a successful time-lapse sequence is finding a stable position for your iPhone.
- You want to avoid any unnecessary movements or shakes, as they can ruin the final product and produce shaky footage.
- Consider using a tripod or stabilizer to keep your phone steady.
Use an Intervalometer App
An intervalometer app allows you to set specific intervals for taking photos, making it easier to capture a time-lapse video sequence without having to manually take photos every few seconds.
There are many free and paid intervalometer apps available in the App Store such as:
- Hyperlapse by Instagram
- Lapse It
- TimeLapse – Photo Fast Forward
Adjust Exposure and Focus
When taking time-lapse videos, lighting and focus can change dramatically over the course of hours or days.
- To avoid any inconsistencies in your footage, make sure to adjust your exposure and focus settings accordingly.
- You can do this by tapping and holding on the screen until an AE/AF lock appears, ensuring that your exposure and focus remain constant throughout the sequence.
Consider the Composition
- Time-lapse videos can be more visually interesting if there is a clear subject or focal point in the frame.
- Look for interesting points of action or movement that can add depth and dynamics to your footage.
Be Patient
- Creating a time-lapse video sequence takes time, so it’s important to be patient and allow the camera to capture enough images for a smooth and seamless sequence.
- Depending on the length of your video, this can take anywhere from a few minutes to several hours.
Experiment with Different Speeds
- Once you have captured your time-lapse footage, don’t be afraid to play around with different speeds when editing it.
- Slower speeds can create a more tranquil and relaxing atmosphere, while faster speeds can add a sense of urgency and excitement to your video.
Music
- To enhance the overall effect of your time-lapse video, consider adding some background music that complements the mood or theme of your footage.
- This can help bring everything together and make for a more enjoyable viewing experience.
Optimize Battery Life
- Time-lapse shooting can be quite demanding on your iPhone’s battery life.
- To ensure you can capture the entire sequence without interruption, make sure your iPhone is fully charged before starting.
- If you’re planning to record for an extended period, consider bringing a power bank or an external battery charger to keep your device powered up.
Choose the Right Time of Day
- The time of day can significantly affect the look and feel of your time-lapse video.
- For dramatic lighting, shoot during the golden hour – just after sunrise or before sunset.
- If you’re capturing cityscapes, the transition from day to night (or vice versa) can create an exciting and dynamic visual effect.
Edit Carefully
- After capturing your time-lapse footage, the editing process is crucial to create the final compelling narrative.
- Use a video editing app to adjust the colours, apply filters, or trim the video to highlight the best parts.
- Apps like iMovie, Final Cut Pro, or Adobe Premiere Pro offer advanced tools for refining your time-lapse video.
iPhone Time Lapse Photography : A Powerful Storytelling Tool
Amazing time lapse videos have the power to showcase an entire story in a matter of seconds.
It can capture transformations, movements, and changes that our eyes can’t see, effectively bringing them to life.
Whether it’s capturing the growth of plants or showing a busy cityscape at rush hour, time-lapse videos have a unique ability to tell stories in a visually captivating way.
With the convenience of our smartphones, we have the power to create these powerful storytelling tools right in the palm of our hands.
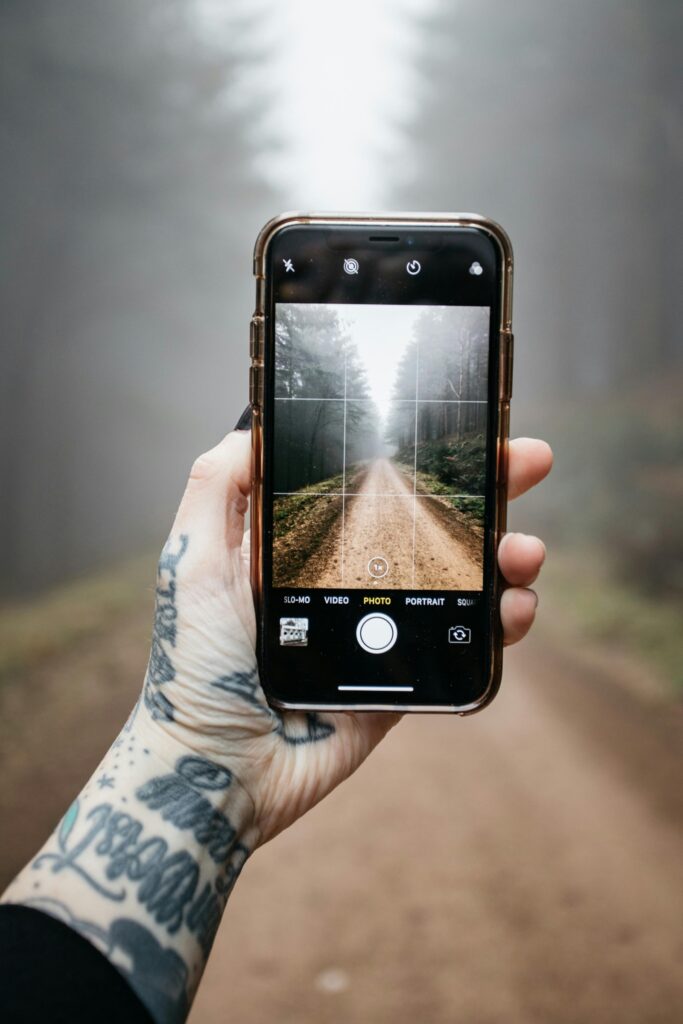
iPhone Time Lapse Settings
The iPhone built in Camera app has a built-in time-lapse feature, making it incredibly easy to capture stunning sequences.
- Open the Camera app and swipe to select Time-Lapse mode.
- Tap the record button to start recording your video sequence.
- When you’re happy with the footage, tap the stop button to stop recording.
You can also adjust the speed of your time-lapse video by swiping up or down on the recording screen.
iPhone Time lapse Speed Settings include:
- 0.5 seconds per frame
- 1 second per frame
- 2 seconds per frame
- 3 seconds per frame
- 4 seconds per frame
Regardless of the speed you choose, the Camera app will automatically adjust the interval between each photo to capture a smooth and seamless sequence.
Time Lapse Settings and Tips for Different Scenarios
Now that we’ve covered the basics of time-lapse photography, let’s talk about specific scenarios and how to achieve the best results with your iPhone.
Sunset Time Lapse
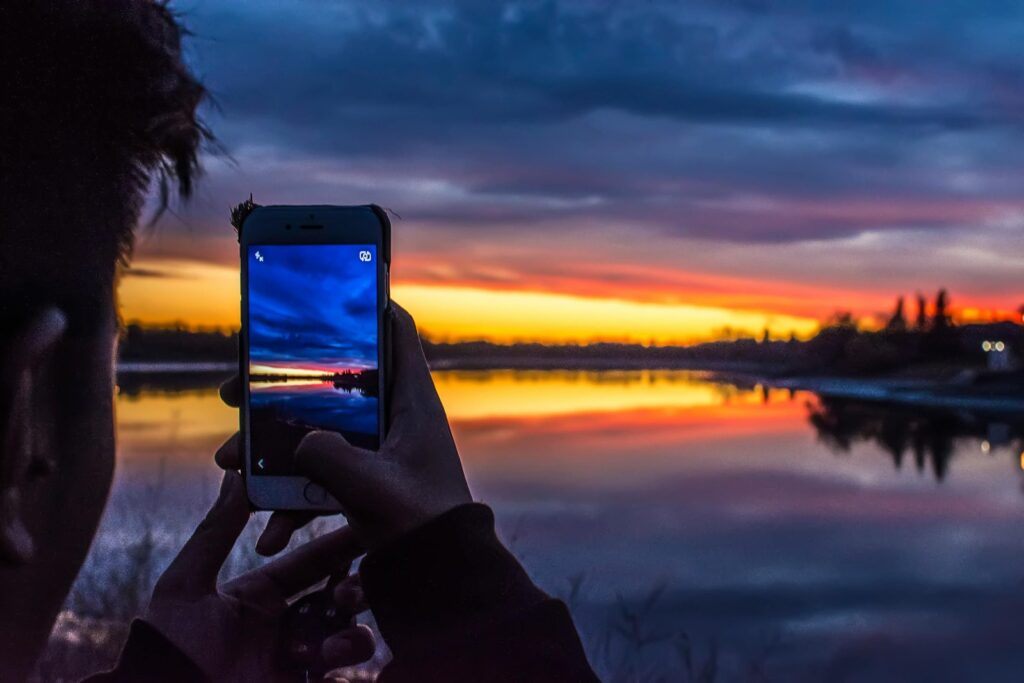
- To capture a stunning sunset time lapse, set your intervalometer app to take photos every 2-3 seconds.
- Make sure to lock your focus and exposure on a specific point in the frame to create consistency.
- To achieve a smoother transition from day to night, increase the speed of your time-lapse video when editing.
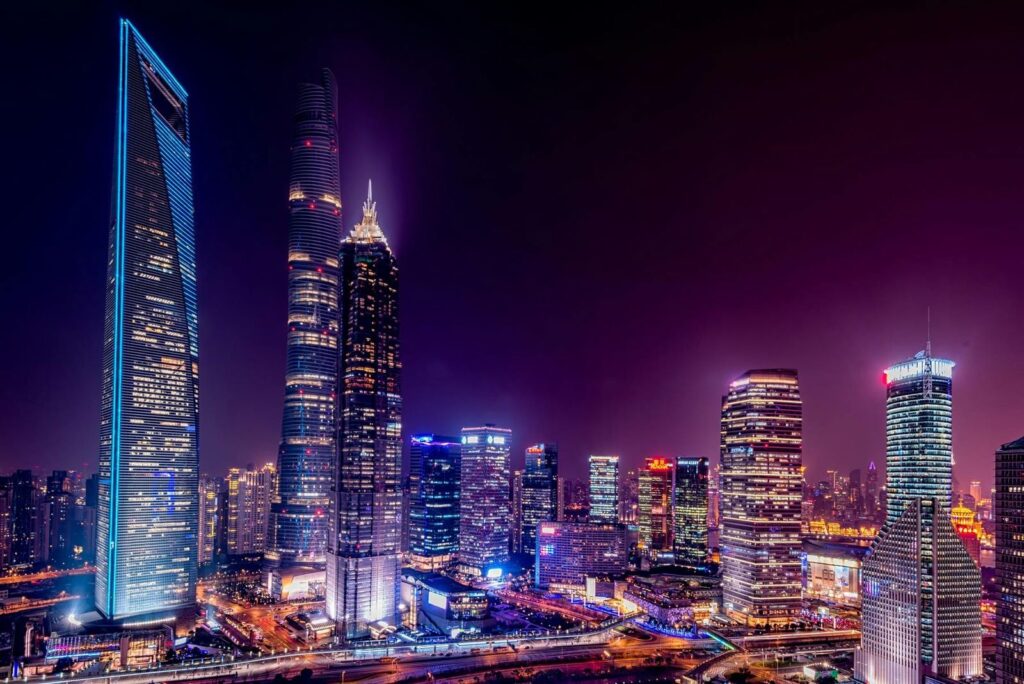
Cityscape Time Lapse
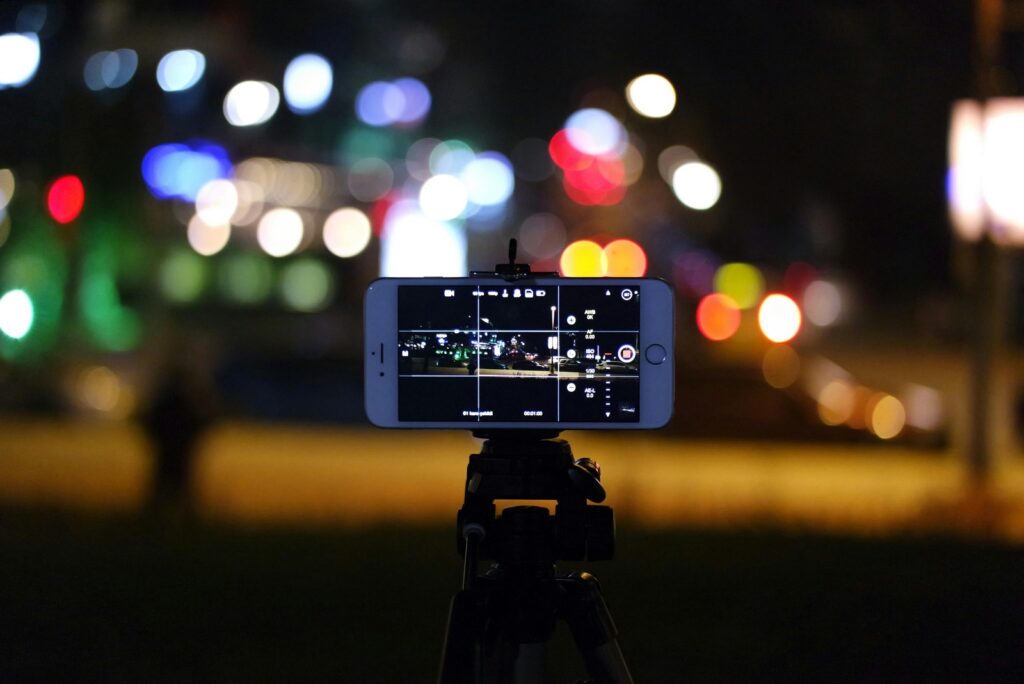
- For cityscape time lapses, set a longer interval between photos (around 5-10 seconds) to capture the constant movement of people and traffic.
- Adjust your exposure and focus accordingly to avoid inconsistencies in lighting.
- Consider adding a panning effect by slowly moving your phone from side to side during the sequence.
Plant Growth Time Lapse

- To capture the growth of plants, set your intervalometer app to take photos every 10 minutes.
- Make sure to have a stable position for your phone and avoid any movement or disturbance during the sequence.
- When editing, use a slower speed to showcase the gradual changes in growth.
Cloud Movement Time Lapse

- For a mesmerizing time lapse of clouds moving across the sky, set your intervalometer app to take photos every 2 seconds.
- Use a tripod or stable surface to keep your phone steady and maintain consistency in the frame.
- Consider adding a slow pan to follow the movement of the clouds for added visual interest.
Night Sky Time Lapse

- To capture the stars moving across the night sky, set your intervalometer app to take photos every 15 seconds.
- Use a tripod or stable surface to avoid any camera shake and keep the frame consistent.
- When editing, use a slow speed for a dreamy and ethereal effect.
In Car Time Lapse Videos

- For time-lapse videos from inside a moving car, set your intervalometer app to take photos every 1-2 seconds.
- Make sure to hold your phone steady and secure it with a mount or tripod.
- Consider adjusting the speed when editing to create a sense of motion and speed in the final video.
Long Time Lapse Videos
Capturing time-lapse videos over an extended period requires some preparation and planning to ensure a smooth and seamless final product.
Tips for Long Time Lapse Videos:
- Make sure your phone is fully charged or have a reliable power source to avoid interruptions.
- Use an intervalometer app with a built-in timer to save battery life by only taking photos at specific intervals.
- Consider using a tripod or stable surface to keep your phone in place for the entire duration of the video.
- Choose a location with consistent lighting and minimal movement or distractions.
Final Thoughts
Your iPhone camera is an incredibly powerful tool that can shoot time lapse videos with stunning visual stories.
With just our iPhones time lapse photography and some basic knowledge, we have the power to capture and share captivating time lapses with the world.
Lets end with some FAQ’s
- How long is a 2 hour time lapse on iPhone?
A 2-hour time-lapse on an iPhone would be approximately 10 seconds to a minute of footage depending on the speed setting chosen.
- Can I add music to my iPhone time lapse video?
Yes, you can add music or sound effects to your time-lapse video using editing apps like iMovie or Adobe Premiere Pro.
This can enhance the overall storytelling effect of your video.
- Can I shoot a iPhone time lapse in low light?
Yes, you can shoot a time-lapse on an iPhone in low light by adjusting the exposure and using a tripod or stable surface to avoid camera shake.
You can also use external lighting sources if needed.
- Do I need any additional equipment for shooting iPhone time lapse?
While not necessary, some optional equipment that can enhance your time-lapse videos include:
- A tripod or mount for stability,
- An external battery pack for extended shoots,
- And a remote shutter release to avoid any camera shake.
- Can I shoot a time lapse video on my iPhone in different orientations?
Yes, you can shoot time-lapse videos on your iPhone in both landscape and portrait orientations.
Just make sure to lock your orientation before starting the sequence for a consistent final product.
- How long is a 15 second iPhone time lapse?
A 15-second time lapse on an iPhone would be approximately 1.5 hours to 3 hours of footage depending on the speed setting chosen.
- Can you change iPhone time lapse settings?
Yes, you can change the settings for your iPhone time lapse videos by adjusting the interval between photos, exposure, and speed when editing.
- Can I shoot a time lapse video on my iPhone while using other apps?
Yes, you can use other apps on your iPhone while shooting a time-lapse video as long as it doesn’t interfere with your phone’s camera function.
- Can I shoot a time lapse video on my iPhone with the screen off?
Yes, you can shoot a time-lapse video on your iPhone with the screen off by using an intervalometer app that has a built-in timer.
This helps save battery life and ensures consistent intervals between photos.
- How do I share my iPhone time lapse video on social media?
You can share your iPhone time-lapse video on social media by exporting it from your camera roll or using the share feature within editing apps.
You can also use hashtags and relevant tags to reach a wider audience.
And with that, we’ve reached the end of our guide on creating stunning time-lapse videos with your iPhone.
- How long can you do timelapse on iPhone?
You can do a time-lapse on your iPhone for as long as you have enough storage space and battery life.
Some cameras also have a limit to the number of photos it can take in one sequence, so keep that in mind when planning a longer time-lapse.
- Can you change iPhone time lapse speed?
Yes, you can change the speed of your iPhone time-lapse when using editing apps. This allows for more creative control and customization of your final product.
- Can I shoot a time lapse on my iPhone with filters or effects?
Yes, you can use filters and effects in certain intervalometer apps or editing apps to add a unique touch to your final time-lapse video.
Experiment with different options to find the perfect look for your project.
- How long is a 30 second timelapse iPhone?
A 30-second time-lapse on an iPhone would be approximately 3 hours to 6 hours of footage depending on the speed setting chosen.
- Why did my time lapse not save?
If your time-lapse video did not save, check to make sure you have enough storage space on your phone and that the camera settings were not changed during the sequence.
You can also try restarting your phone or using a different app to see if that resolves the issue.
And remember, practice makes perfect so keep experimenting and creating beautiful time-lapse videos with your iPhone!
So go out there, have fun, and capture the world in motion. Happy shooting!
No Comments yet!