Skip to Section
- 1 What Are Time-Lapse Programs and Why Are They Important?
- 2 Key Features to Look For in Time-Lapse Programs
- 3 The Top Time-Lapse Software Options
- 4 How to Create a Time-Lapse Using Software (Step-by-Step Guide)
- 5 Top Tips for Stunning Time-Lapse Video
- 6 Troubleshooting Common Issues
- 7 The Future of Time-Lapse Video Technology
- 8 Start Your Time-Lapse Journey Today
If you’re ready to elevate your time-lapse videos to new heights, it’s time to explore the world of time-lapse program
Time-lapse photography has taken the visual storytelling world by storm in recent years. From breath taking natural landscapes to bustling urban scenes, stunning time-lapse videos offer a unique way to showcase the passage of time in just a few mesmerising seconds. But did you know that much of what goes into creating a stunning time-lapse depends on the software used behind the scenes?
This guide will walk you through everything you need to know about to create time-lapse videos and use programs, from understanding their importance to choosing the best one for your needs. You’ll also learn how to use these programs step by step, access tips for capturing stellar time-lapses, and troubleshoot common issues.
What Are Time-Lapse Programs and Why Are They Important?
Time-lapse software, play a critical role in turning a sequence of still images into a seamless video that captures hours, days, or even months in just seconds. These specialised programs work by stitching individual frames together, also known as time lapse sequences, adjusting playback video speed, and allowing creative edits like adding transitions or correcting image exposure in just a few clicks.
Without the right software, you risk ending up with clunky, inconsistent time lapse sequences that fail to capture the magic of the slow motion time passing.
Key Features to Look For in Time-Lapse Programs

Choosing the right software to create time-lapse videos can feel overwhelming with so many options on the market. Before you decide, here are some of the most important features to look for:
1. Ease of Use
A user-friendly interface is essential, especially if you’re new to time-lapse photography. Look for software with straightforward workflows and tutorials.
2. Customisable Playback Speeds
The best time lapse creator programs allow you complete control over playback speed so you can fine-tune how your time-lapse unfolds.
3. Editing Features
Basic programs might just stitch photos together, but advanced ones offer colour grading, cropping, and video stabilisation tools for polished results.
4. HDR Integration
HDR (High Dynamic Range) support ensures consistent lighting and detail, particularly for scenes shot over extended periods of time.
5. Batch Processing
If you’re working on large-scale time lapse photography projects with thousands of photos, prioritise programs that include batch processing to boost efficiency.
6. Cross-Platform Compatibility
Ensure your software works with your preferred operating system, such as Windows, macOS, or Linux. Some programs even offer remote access via apps.
7. RAW File Support
For the best possible quality, ensure your program can process RAW files to retain maximum image detail.
8. Rendering Speed
Time-lapse rendering is processing-intensive. High-quality software should offer fast rendering times without crashing.
The Top Time-Lapse Software Options

Time-lapse programs come in all shapes and forms, from beginner-friendly tools to advanced solutions for professionals. Here’s a breakdown of the top options:
1. LRTimelapse
A go-to choice for professionals, LRTimelapse is packed with advanced editing features.
Pros:
- Industry-leading software with RAW file support
- Incredible flexibility for exposure and transitions
- Works seamlessly with Adobe Lightroom
Cons:
- Steep learning curve
- Expensive compared to other beginner tools
2. Panolapse
Panolapse is perfect for enthusiasts looking for wide-angle and perspective effects.
Pros:
- Affordable and beginner-friendly
- Creative rotational effects for a dynamic look
Cons:
- Limited colour grading tools
3. Time-Lapse Tool
Designed with entry-level users in mind.
Pros:
- Simple interface and guided workflows
- Great for quick projects
Cons:
- Lacks high-end editing features
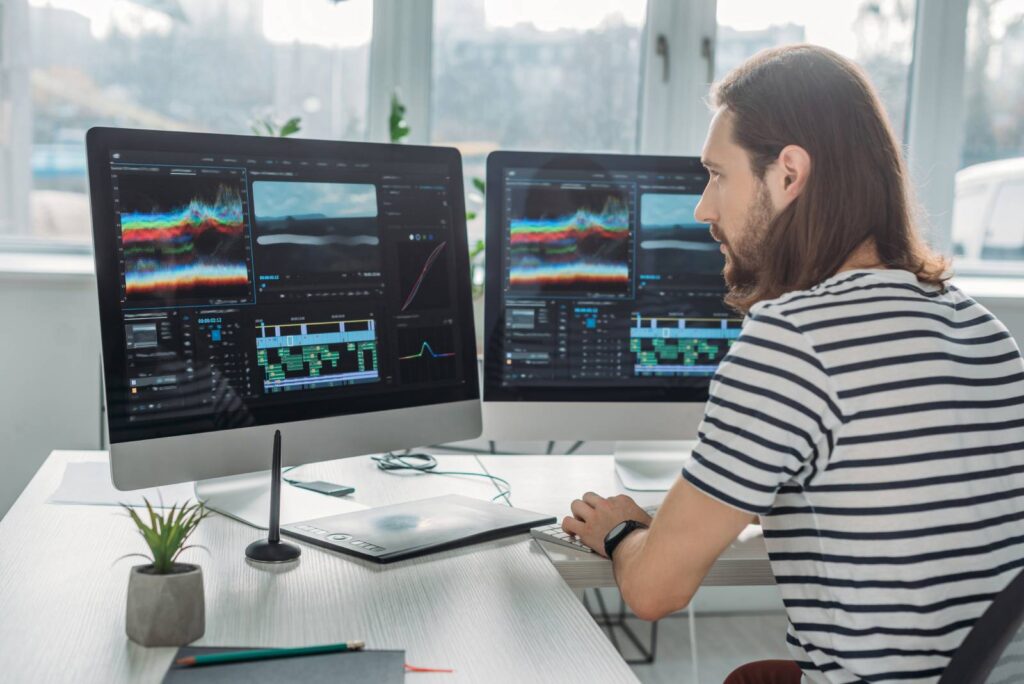
4. Adobe Premiere Pro
Not technically a time-lapse tool, but a versatile video editor for creative projects.
Pros:
- Advanced editing tools for colour grading and transitions
- Industry-standard software
Cons:
- Subscription-based pricing
How to Create a Time-Lapse Using Software (Step-by-Step Guide)

Here’s a simple step-by-step guide to help you create time-lapse videos with any software:
Step 1. Plan Your Shoot
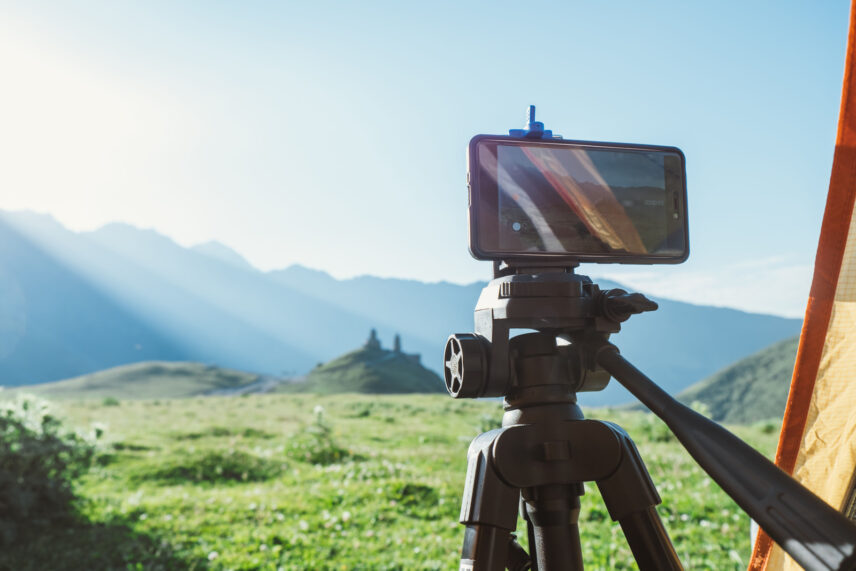
Before using software, capture your images. Decide on your subject, whether that’s shifting clouds, growing plants, or traffic patterns. Use a sturdy tripod and shoot at regular intervals using an intervalometer. Shutter speed is important – use long exposures for smooth motion, or short ones for a choppy effect.
Step 2. Import Your Images
Open your time-lapse program and import all the relevant images in sequence to the video file.
Step 3. Set Up Your Timeline
Arrange your time lapse footage chronologically. Most programs will automate this if your image files are named sequentially.
Step 4. Adjust Playback Speed
Experiment with the playback video speed to find the pacing that best captures your scene.
Step 5. Edit for Perfection
Use the program’s colour grading, cropping, and stabilisation tools to polish your time lapse video.
Step 6. Export Your File
Finally, export your time-lapse in the resolution and video file format best suited to your platform or purpose.
Top Tips for Stunning Time-Lapse Video

- Light Consistency: Make sure your exposures are consistent throughout the sequence to avoid flickering.
- Pre-Shoot Planning: Research your subject and try to plan shoots around sunrise, sunset, or significant events for dramatic effects.
- Weather Awareness: Avoid unpredictable weather that might ruin your images. Clear skies are ideal for outdoor shots.
Troubleshooting Common Issues
Here are solutions to some common time-lapse photography challenges:
- Flickering Video: Caused by changing exposure levels. Use deflickering tools like those in LRTimelapse.
- Blurry Images: Always use a tripod and disable autofocus during shooting.
- Long Processing Times: Close unnecessary programs to allocate processing power to your time-lapse software.
The Future of Time-Lapse Video Technology

Time-lapse video software is evolving rapidly. Features like AI-powered editing, cloud-based processing, and improved HDR capabilities are making it easier than ever to create stunning time-lapse photography With these advancements, we can expect time-lapse creation to become even more immersive and accessible to creators of all skill levels.
Start Your Time-Lapse Journey Today
Time-lapse videos are an extraordinary way to capture the beauty of time and movement. With the right tools and techniques, anyone can create a time lapse video that speak volumes. Whether you’re just getting started or looking to enhance your skills, there’s a time-lapse program out there for you.
If you’re ready to elevate your time-lapse game, why not give one of these programs a try? Many offer free trials, so you can dip your toe in before making a commitment. Start experimenting today and capture time like you’ve never seen before!
No Comments yet!